Creating a New Campaign – Step-by-Step Guide Below
Step by Step Guide
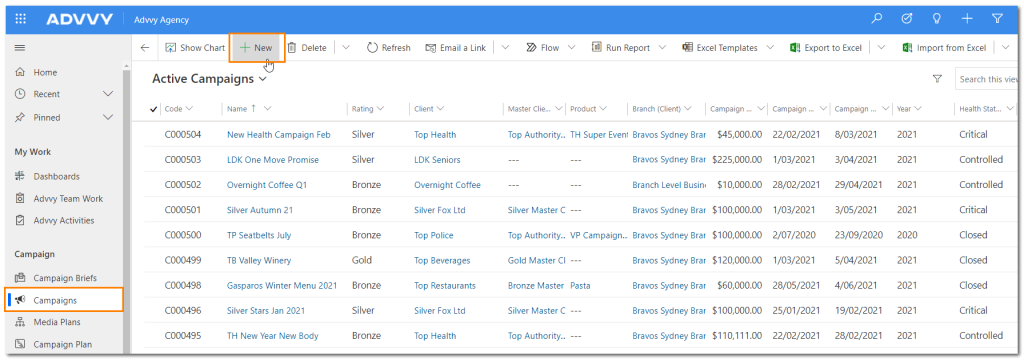
- Navigate to Agency > Campaign > Campaigns. The Active Campaigns page will be displayed.
- On the ribbon click + NEW.
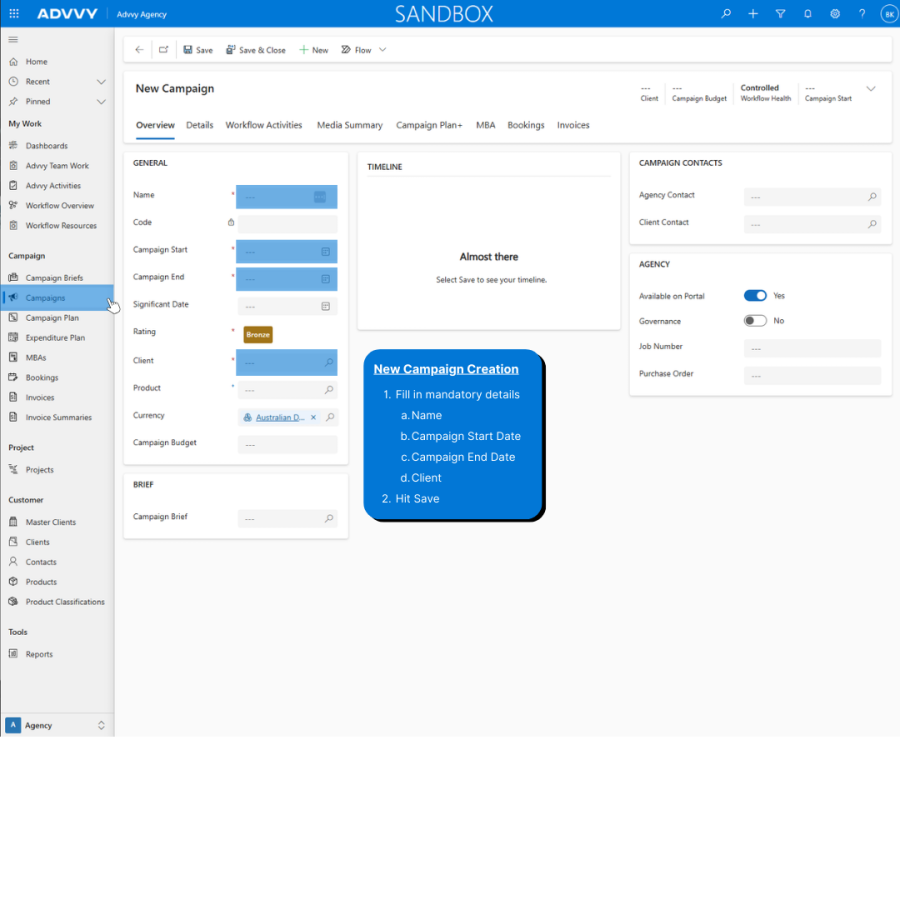
The New Campaign page will be displayed. - Enter Campaign details:
- Enter the name of the campaign in the Name tip: Try to use unique campaign names for easy identification
- Enter the campaign Start and End dates – these are the Live/Launch dates
- Enter the name of the client in the Client – NB: once a campaign is saved the ‘Client’ field cannot be changed.
- Click SAVE on the ribbon or click the save icon in the bottom right corner of your browser to create the campaign.
Once a campaign is first created the selected workflow will be generated for the campaign and will use the start/end dates to set dues dates for the tasks.
A number of new tabs will be made visible for the campaign record and the information on these tabs can be updated.