Creating A New Campaign
New campaigns can be created in two ways:
- Creating a NEW campaign.
- Converting a Campaign Brief into a Campaign record
Creating a New Campaign
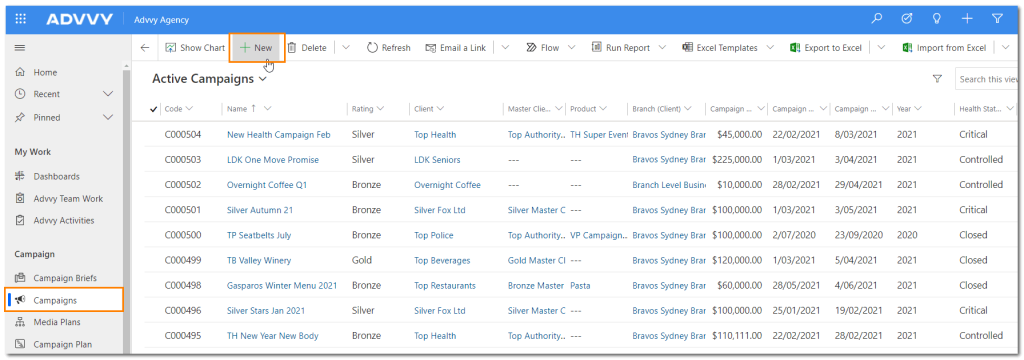
- Navigate to Agency > Campaign > Campaigns. The Active Campaigns page will be displayed.
- On the ribbon click + NEW.
The New Campaign page will be displayed. - Depending on your Advvy configuration, you may have a bespoke Campaign Form. The following guide is for the Standard Campaign form. If you have a bespoke form, please refer to your bespoke help documentation, or request it from Advvy.
- Enter Campaign details:
- Enter the name of the campaign in the Name tip: Try to use unique campaign names for easy identification
- Enter the campaign Start and End dates – these are the Live/Launch dates
- Enter the name of the client in the Client – NB: once a campaign is saved the ‘Client’ field cannot be changed.
- Enter the name of the product in the Product
- Select the campaign progress status from the Progress Status drop down list.
- Select the Campaign Workflow from the Workflow drop down list.
- Click SAVE on the ribbon or click the save icon in the bottom right corner of your browser to create the campaign.
Once a campaign is first created the selected workflow will be generated for the campaign and will use the start/end dates to set dues dates for the tasks.
A number of new tabs will be made visible for the campaign record and the information on these tabs can be updated.
![]()
Converting a Campaign Brief
- On the Campaign Brief form, navigate to the ribbon and select “Convert to Campaign”
- A new draft Campaign record will be created. This will carry over most of the Campaign Brief information, however it is possible to first amend any details. Once you are happy, simply hit Save.